Cancel a date range
To cancel a date range
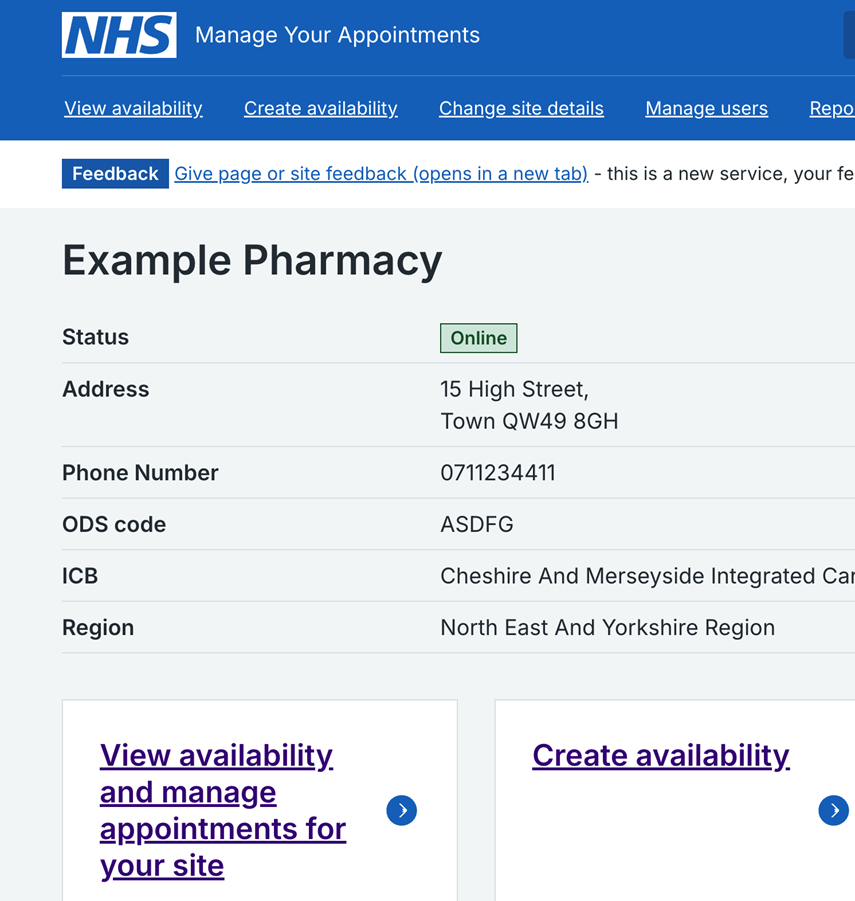
1. Select the relevant site.
2. Click on view availability or create availability using the top menu or the cards on the page.
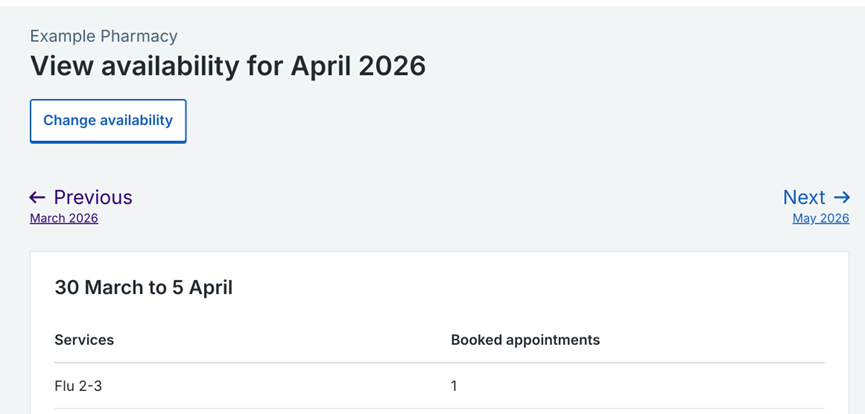
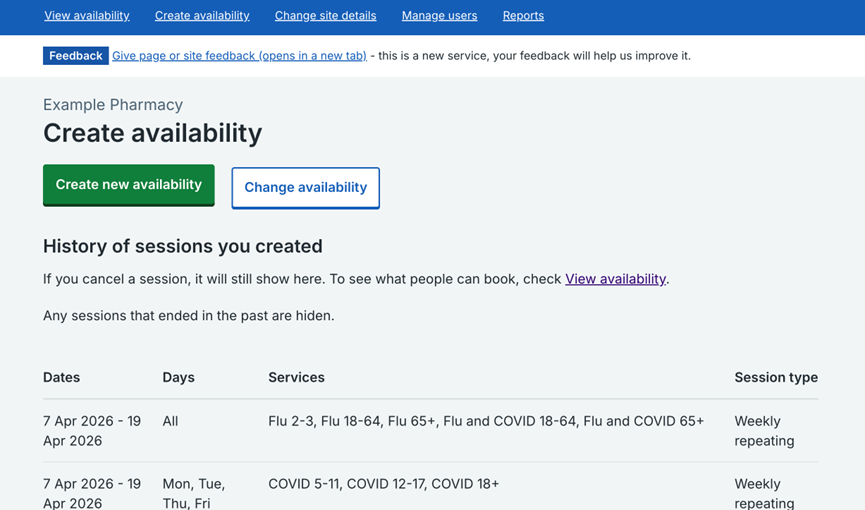
3. To cancel a date range select change availability.
You can find this button on both the view availability and create availability pages. While its position on the screen may change slightly, selecting change availability always starts the cancel a date range process.
4. Click continue to cancel.

5. Select the date range that you want to cancel and click continue.

Cancelling a date range and managing affected bookings
If you cancel a date range that has existing bookings, you must decide what to do with those bookings. You can choose to keep these bookings or cancel them.
Cancelling a date range and keeping the affected bookings
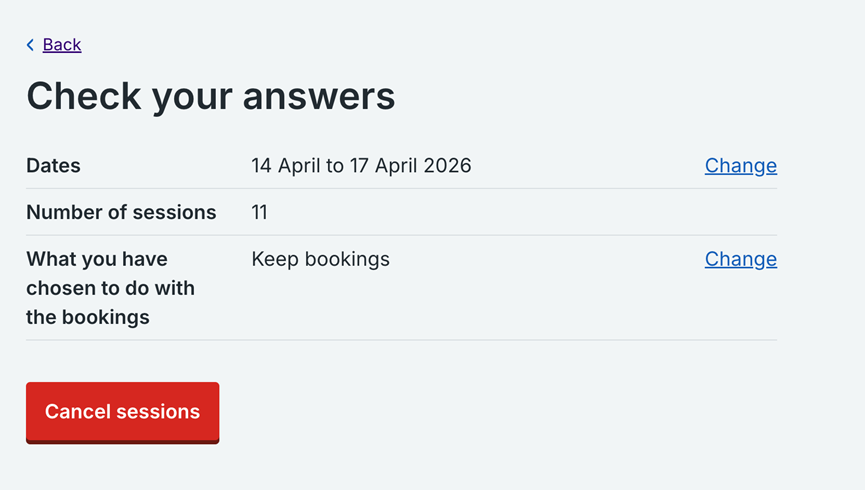
6. In this example, we want to cancel from 14 April 2026 to 17 April 2026. Enter the dates and click continue.

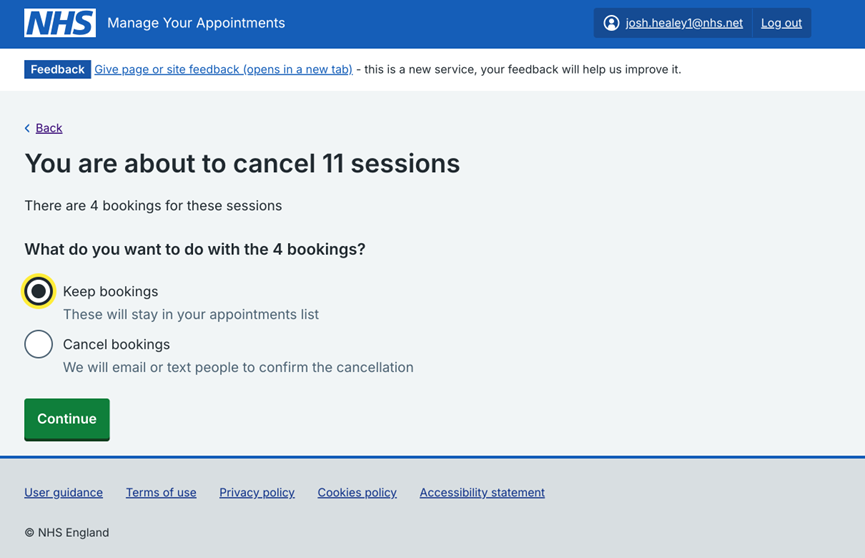
7. Cancelling these dates affects 11 sessions and 4 bookings. To keep the bookings, select keep bookings and then continue. The 4 bookings will stay in your appointment list.
8. Check your answers are correct, then select cancel sessions.
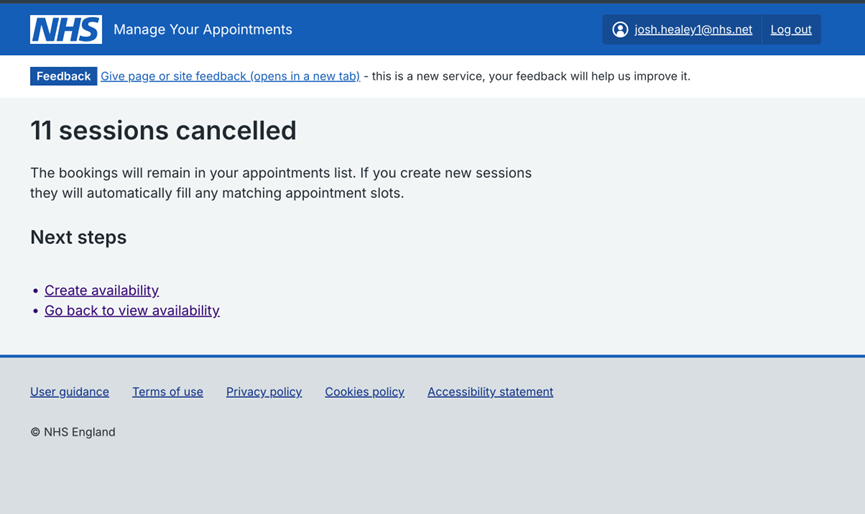
9. This screen confirms you have cancelled the sessions. You do not need to do anything else.
Cancelling a date range and cancelling the affected bookings
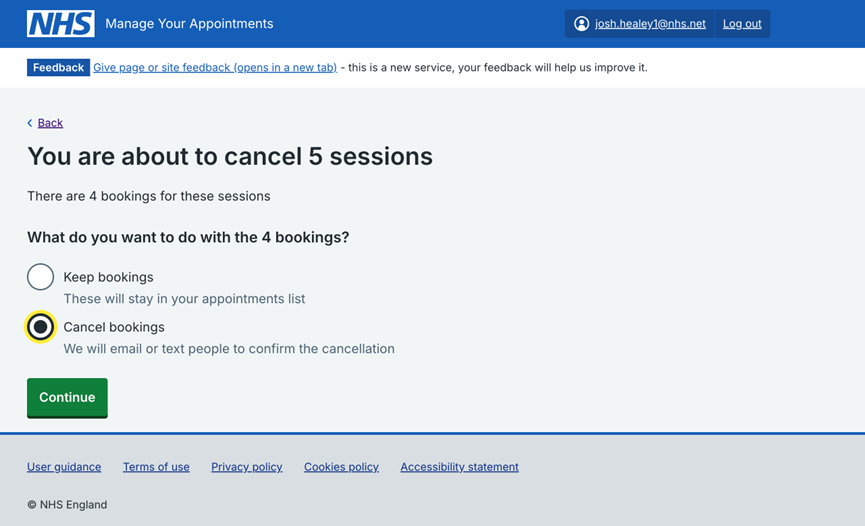
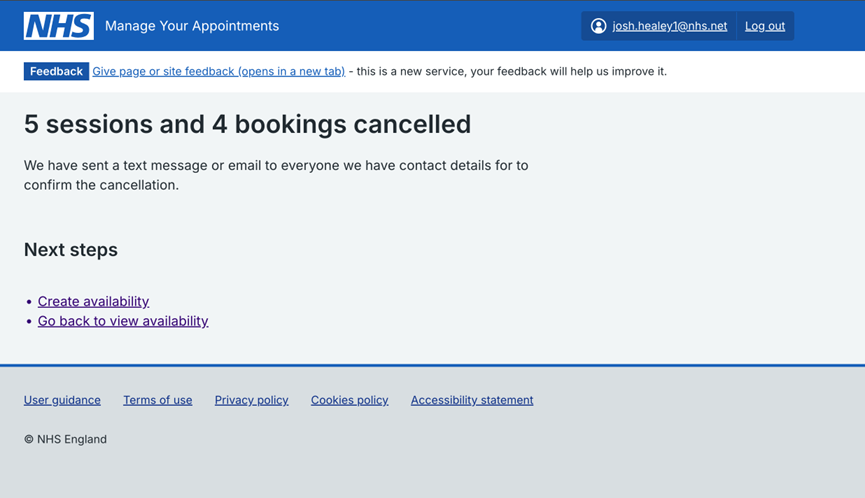
10. In this example, selecting these dates cancels 5 sessions and 4 bookings. To cancel the bookings, select cancel bookings and then continue. We will then email or text patients to tell them their booking is cancelled.
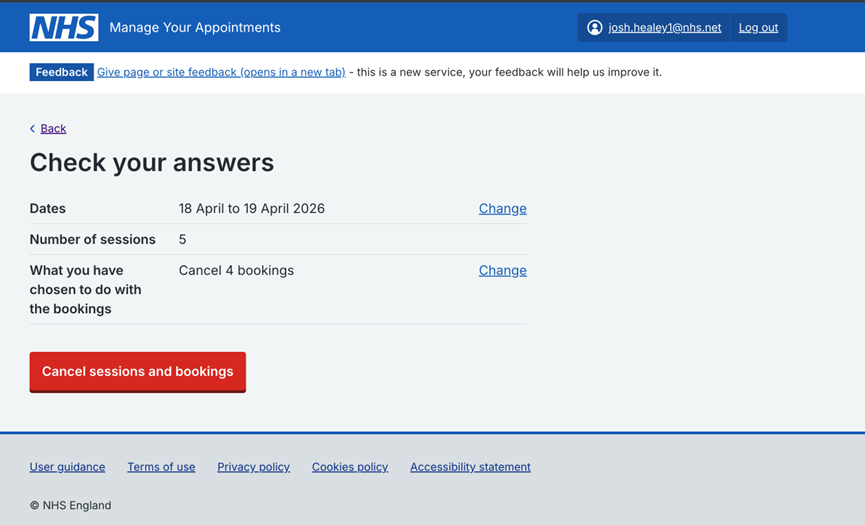
11. Check your answers are correct, then select cancel sessions.
12. This screen confirms you have cancelled the sessions. You do not need to do anything else.
Last edited: 21 April 2026 10:38 am