Register or remove a passkey in Care Identity Management
How to register a passkey as an authenticator, as an alternative to a smartcard, or remove a passkey from a user's profile.
Which roles can do this?
- Registration Authority Manager
- Registration Authority Agent (Advanced)
Get started (all user setups)
You'll need to set up a meeting with your user, either via video or face-to-face. The passkey registration must be completed in your presence.
They will need to have Bluetooth enabled on their device.
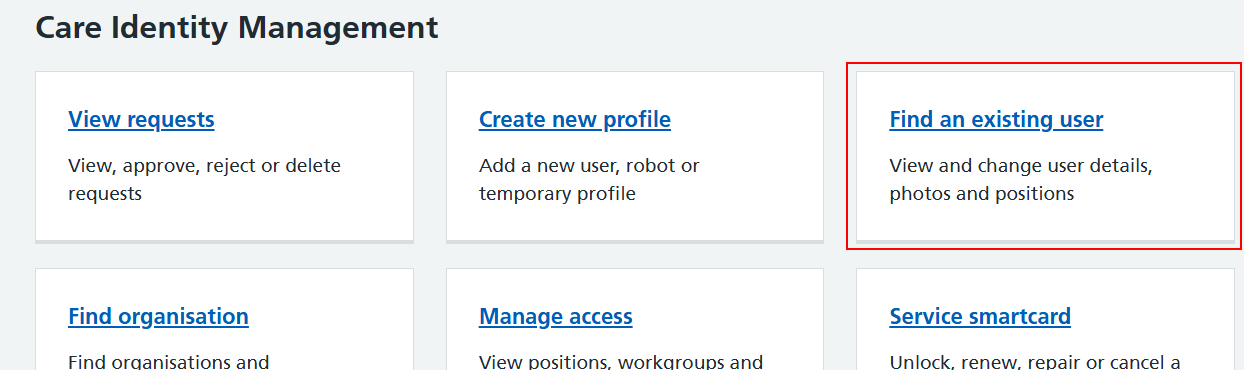
From the Care Identity Management home page, choose 'Find an existing user'.
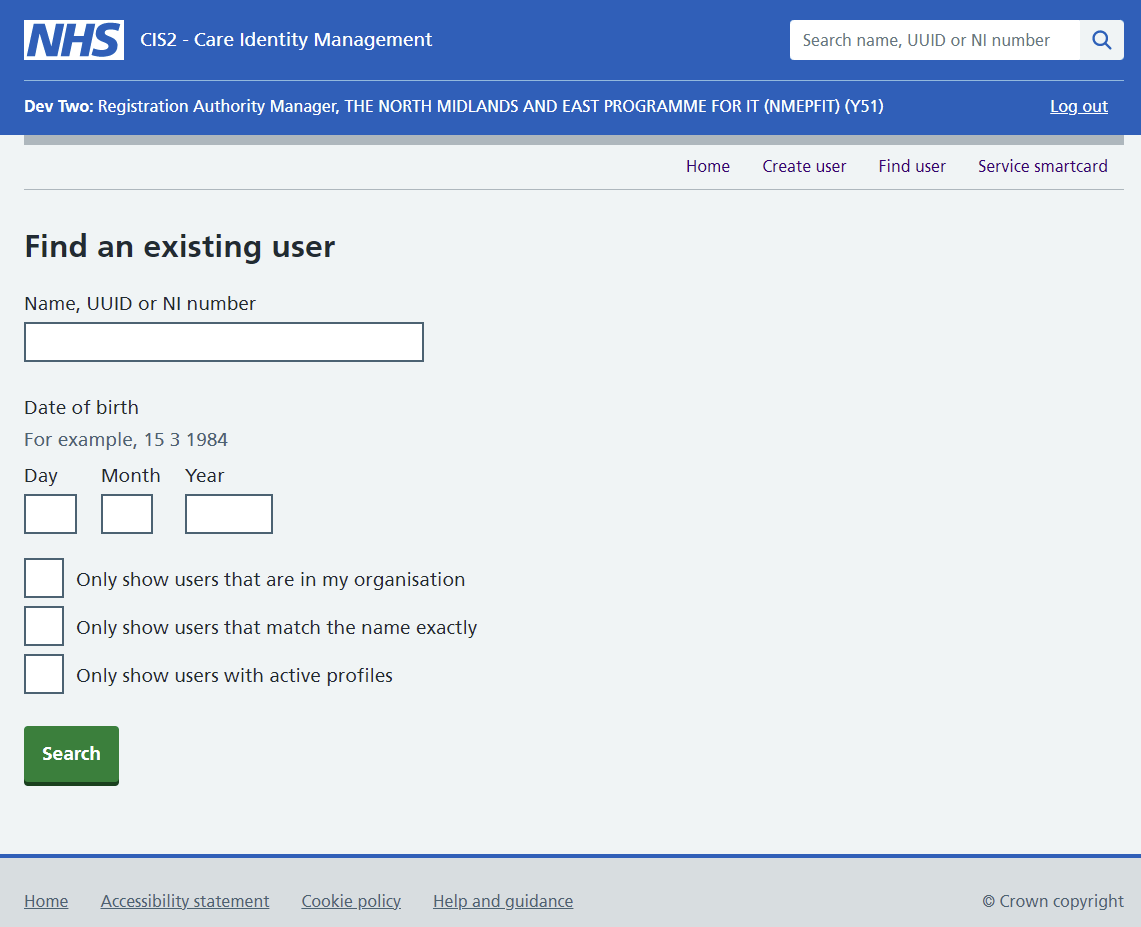
Enter the user's details and select 'Search'.
Choose 'View profile' on the right of the screen.

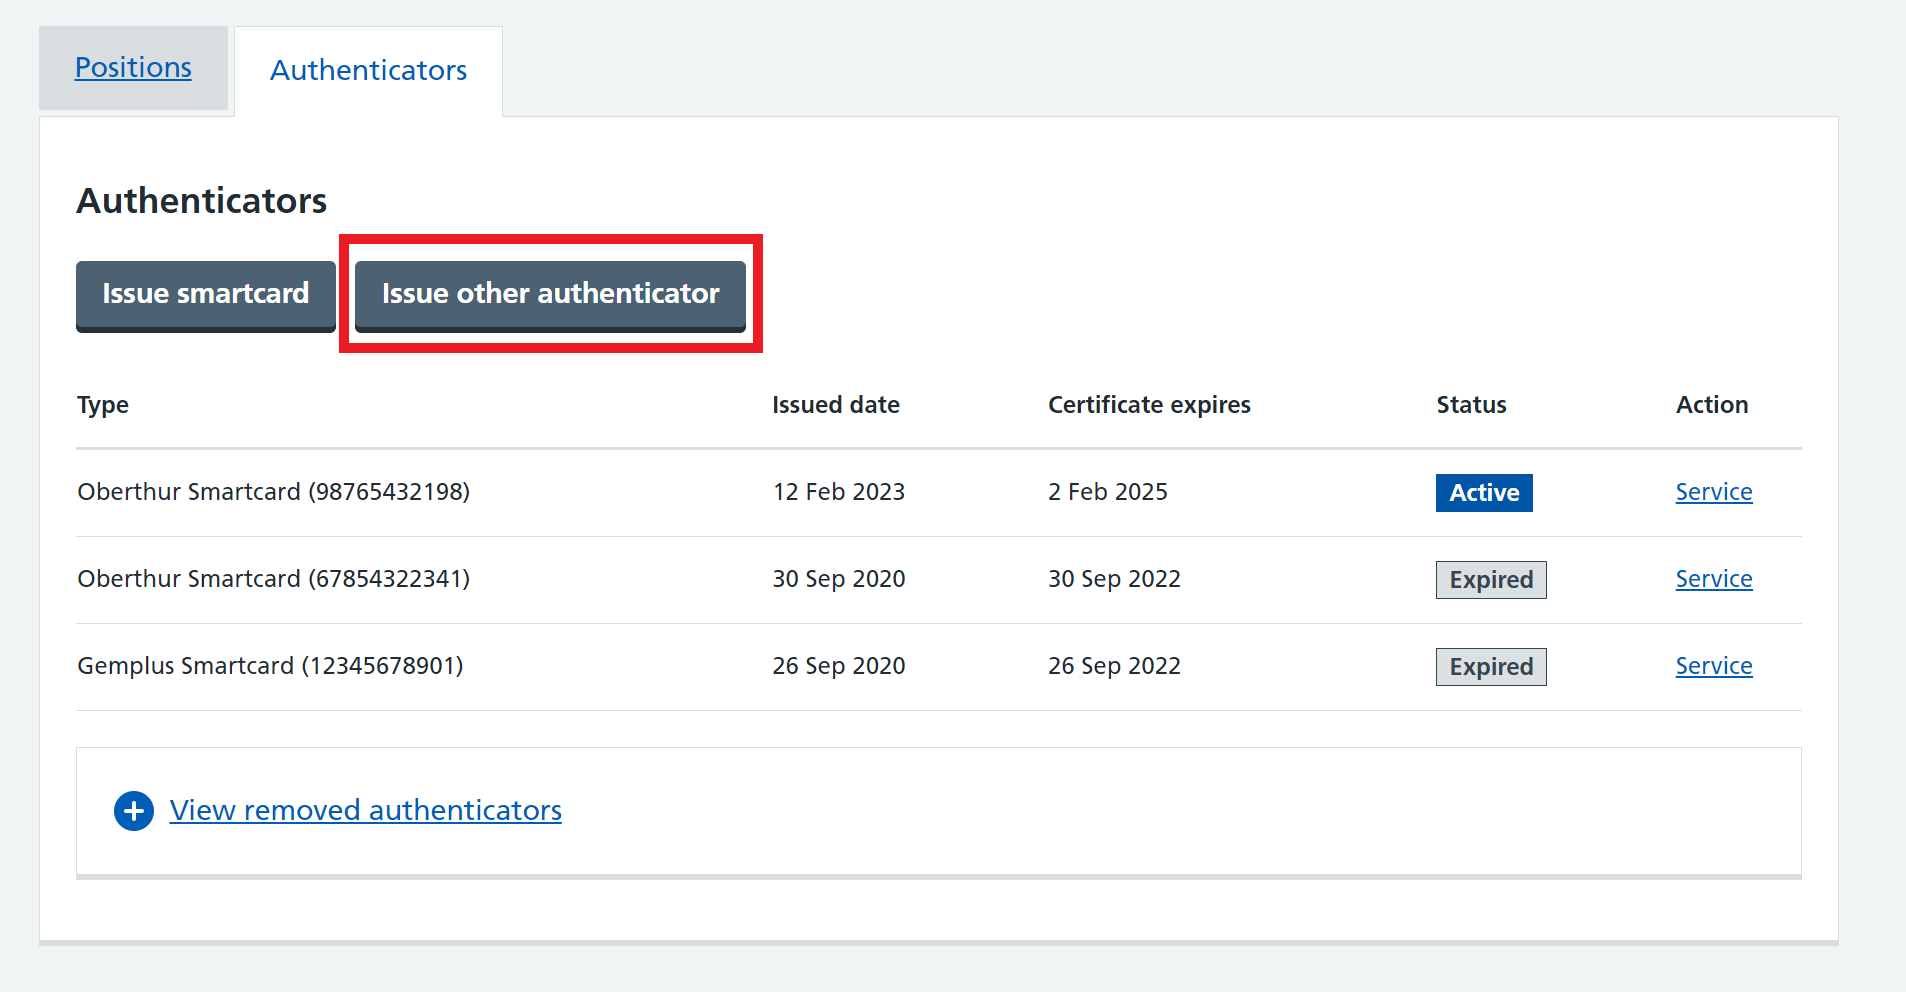
Go to the 'Authenticators' tab on the user's profile page and select 'Issue other authenticator'.
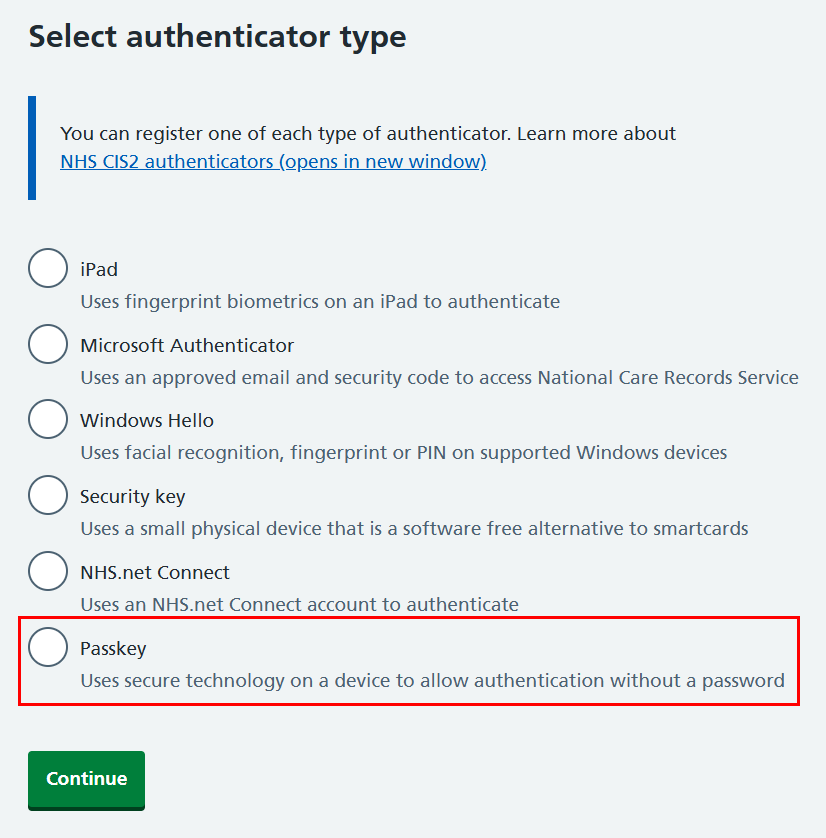
Select the 'Passkey' authenticator type and 'Continue'.
You'll now see a screen with instructions on how to register the passkey.
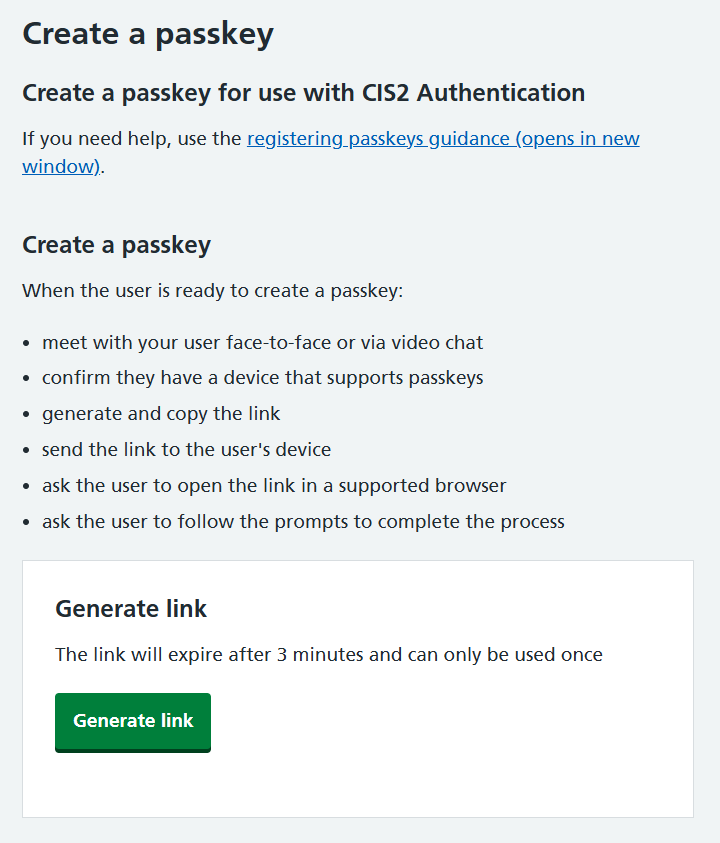
When you've read the instructions and are both ready to proceed, select 'Generate link'.
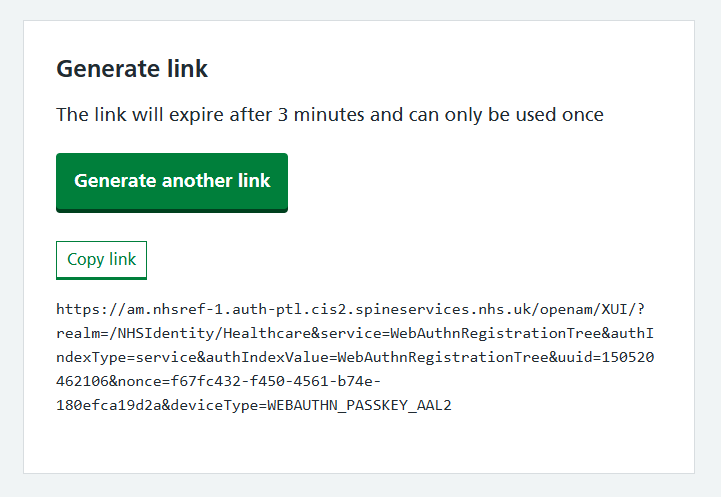
Copy the link and send it to the user by email, or paste it into the chat function of the video call software you are using.
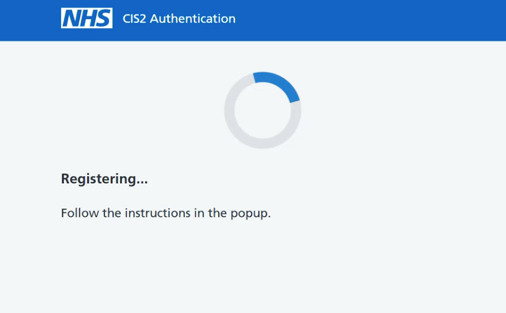
When the user opens the link, they'll go through a series of registration steps on their device. The steps will depend on the type of device they use and whether they have:
- Window Hello installed on their device
- Windows Hello registered as an authenticator in CIM
Use a Windows device to register a passkey
If the device is already registered as a Windows Hello authenticator
A device registered as a Windows Hello authenticator in CIM cannot be used to register a passkey as well.
If the device is already registered as a Windows Hello authenticator, you can use the device to register a passkey on another, non-Windows device, like an iPhone, iPad or Android phone.
To do this, follow the steps under 'If the user has Windows Hello installed on their device' below.
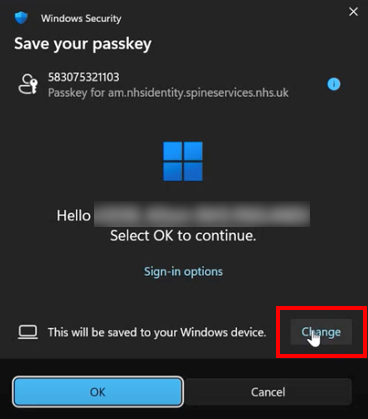
By default, CIM will try to register Windows Hello as an authenticator instead of a passkey, so you will need to change a setting shown below to register a passkey instead.
First the user should open the link you sent to them.
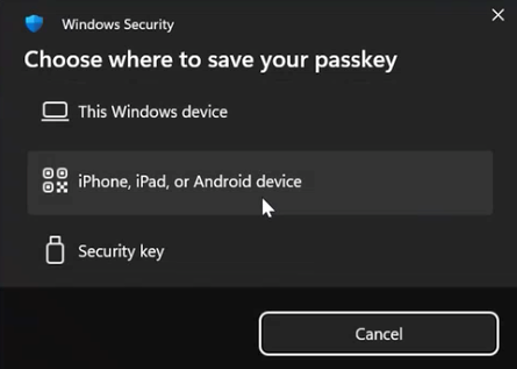
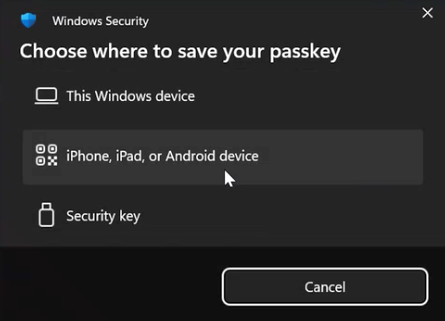
When prompted, select ‘Change’ (next to ‘This will be saved to your Windows device’, highlighted below).
Select 'iPhone, iPad or Android device'.
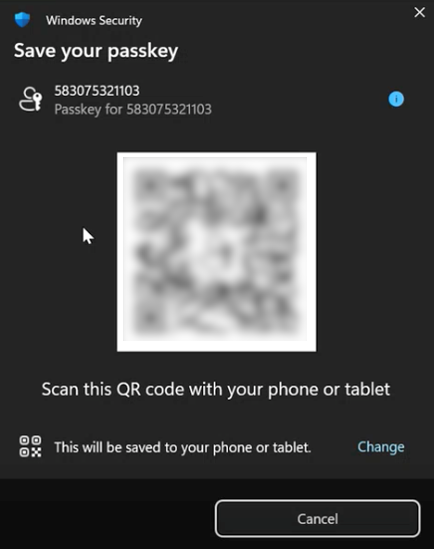
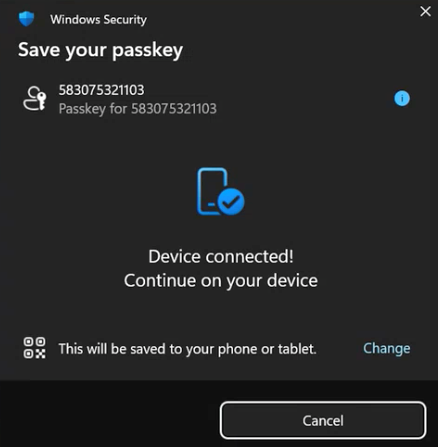
The popup will then require the user to scan a QR code using the camera of the iPhone, iPad or Android device.
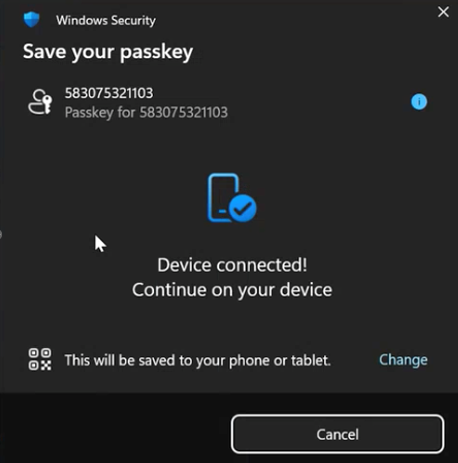
The user will now see this screen and need to follow the steps on their mobile device.
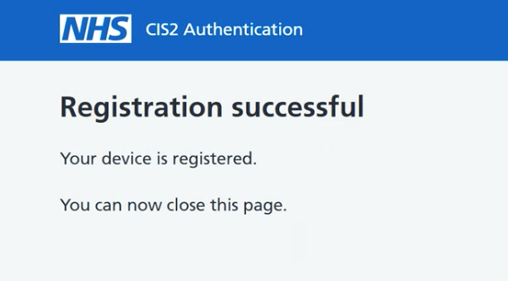
When the device is registered you'll see a confirmation screen.
First the user should open the link you sent to them.
Select 'iPhone, iPad or Android device'.
The popup will then require the user to scan a QR code using the camera of the iPhone, iPad or Android device.

The user will now see this screen and need to follow the steps on their mobile device.
When the device is registered you'll see a confirmation screen.
Use an iOS device to register a passkey
First the user should open the link you sent to them.
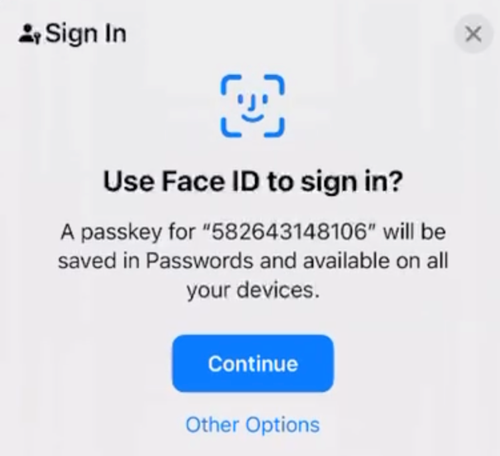
The device will ask you to confirm your identity. Select 'Continue'.
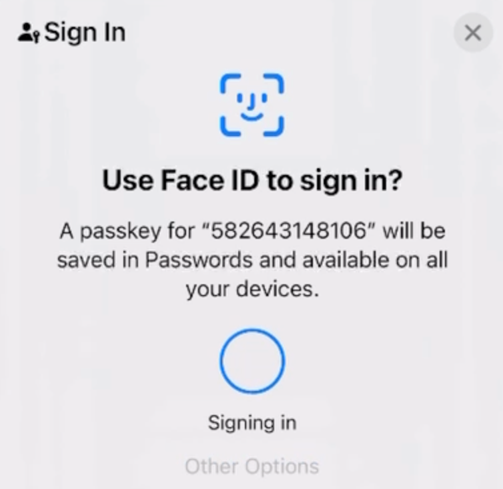
iOS confirms it's you and continues registration.
When the device is registered you'll see a confirmation screen.
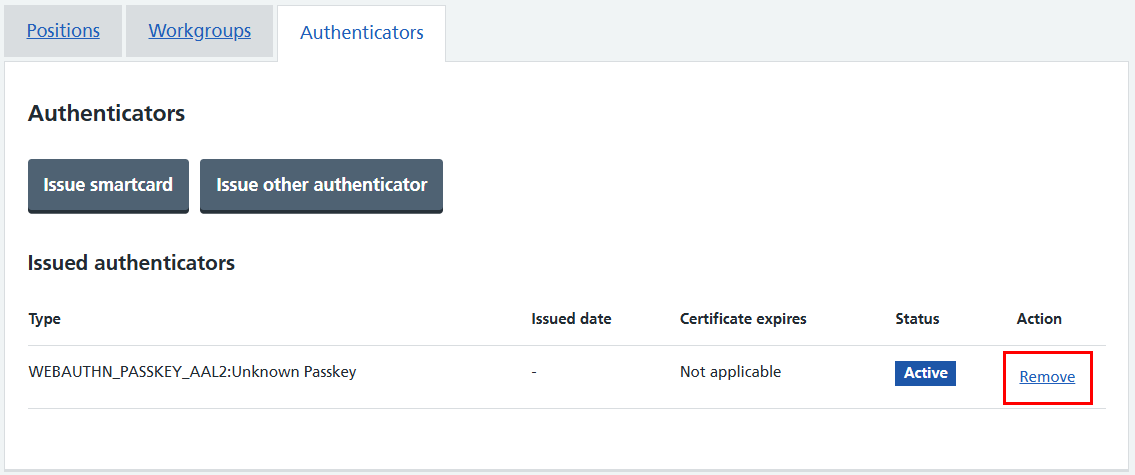
Remove a passkey
From the user's profile, select the 'Authenticators' tab, find the passkey in the list and select 'Remove' on the right.
Select the box to confirm you want to remove the passkey, followed by the 'Remove authenticator' button.

Finally you'll see a message confirming that the passkey has been removed from the user's profile.

Last edited: 2 December 2025 11:02 am